


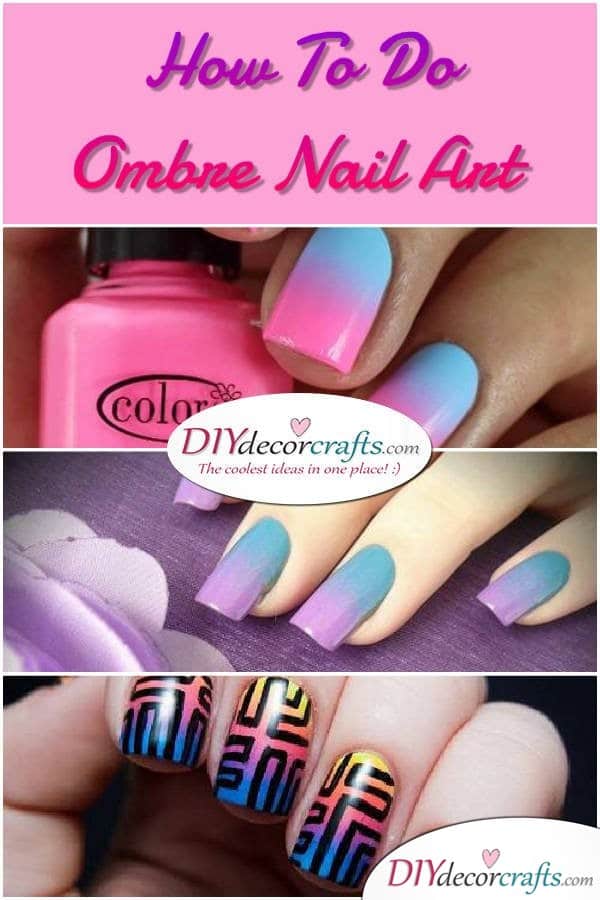
Fall is the season of change, so it’s the perfect opportunity to bring out a new you! Do you like experimenting with new mani every now and then? I do too, and if I had to pick, my usual choice is ombre. You can experiment with any number of colors, use tapes or other designs that make your nails unique and stand out. But what if you’ve never done ombre nail art before? Well, then you’re in the right place! I’ll explain in detail how to get it done, as well as giving some examples. Don’t worry, it really isn’t a hard thing to pull off once you get the hang of it.

Things you will need to begin the ombre nail art:
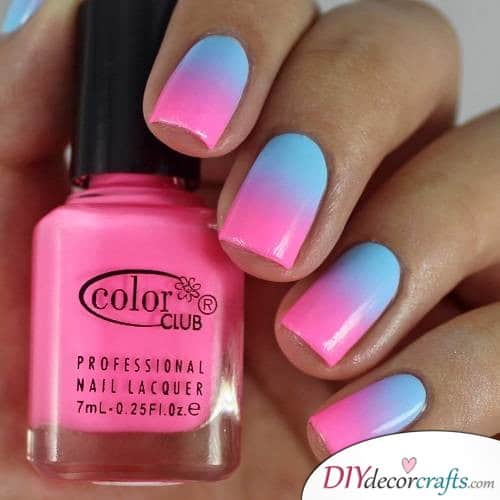
Two or more colors of your choosing. You can play with any two or more colors, but for the best effect try using similar shades or ones that bend together well (like orange-red, red-pink-white, black-grey and so on.) Try a color that matches your clothes, hair color or the season.
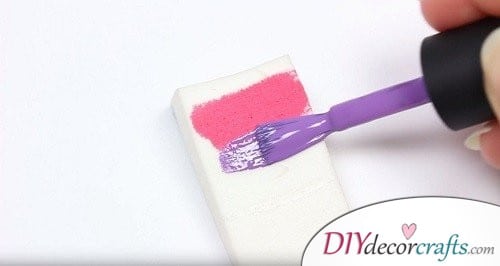
A makeup sponge. The “secret” behind ombre nail art is this little clever tool. When I first came across ombre nails, I couldn’t imagine how someone could blend multiple colors so well. As it turned out, it wasn’t something my friend mastered over the years, just a simple and clever tool’s job. It enables the colors to blend flawlessly and apply easily on your nails. You can use the same sponge for all your nails, but make sure it’s clear before you start.

Liquid latex. You can do ombre nail art without it, but I highly recommend using it. It will make it easier to remove the excess over your nails and protect your fingers. You will also need toothpicks or tweezers to remove the liquid latex once you’re done. It can be substituted for plastic sheet or foil, but I think it’s way easier to just buy it.
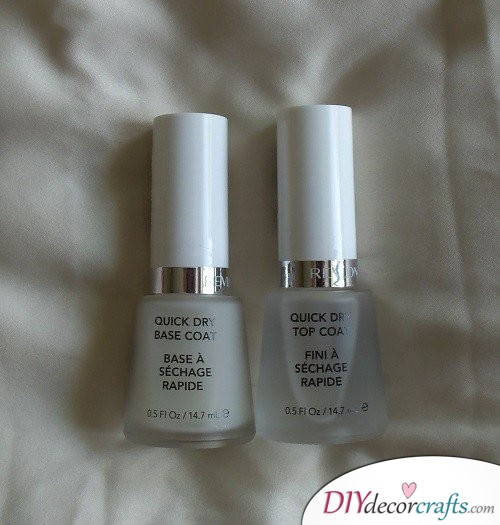
A base coat and a top coat. It’s important to protect your nails from chemicals and the mani from getting damaged. I recommend a quick dry clear base and top coat. When I got into doing my own nails, I didn’t use them at first, but I was told by a professional that it’s very important and now it’s just a habit.
Step-by-step tutorial
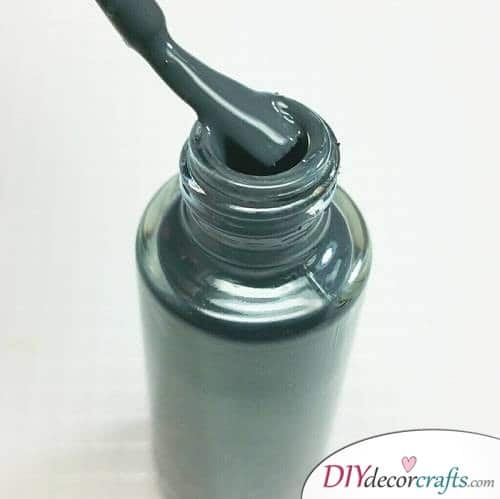
Remove your previous polish and apply a base coat. Once dry, apply a base color or wild coat. Generally speaking, the safest option is white, because it doesn’t hurt the opacity of the layers to come. If you’re using darker colors, like deep blue, you can skip the base color.
Choose the colors you wish to use and line them up on a flat surface. Accessibility is key. If you want to get some inspiration, scroll down to the examples of some styles, but you have free reign over what you want to achieve.
Now, there are a few options to choose from now. You can either swirl the colors together with a toothpick or just apply the colors on the sponge. Whichever option you choose, apply the liquid latex around your nails next.
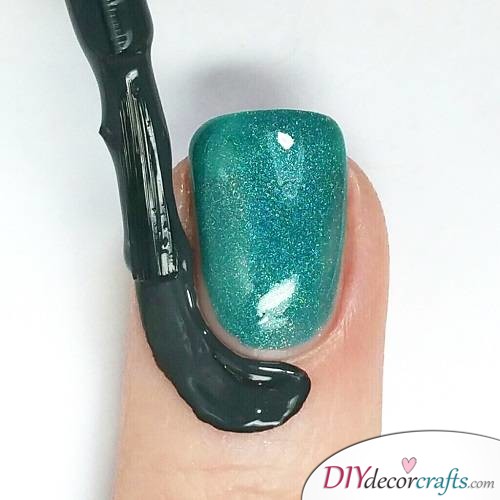
Here comes the fun part! Gently dab the sponge on your nails, then wait until it dries. Reapply the colors if necessary, then sponge on your nails again. It’s important to wait about a minute so the layers dry, preventing ruining the effect.
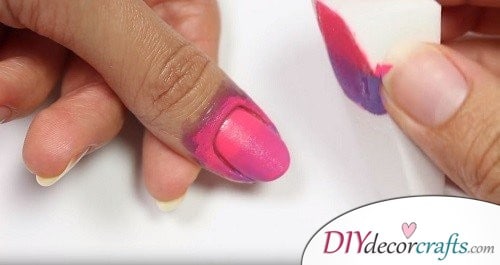
Now clean up your nails. Remove the liquid latex and clean up any excess around your nails with a brush and remover. Do the same steps for all your nails. 🙂
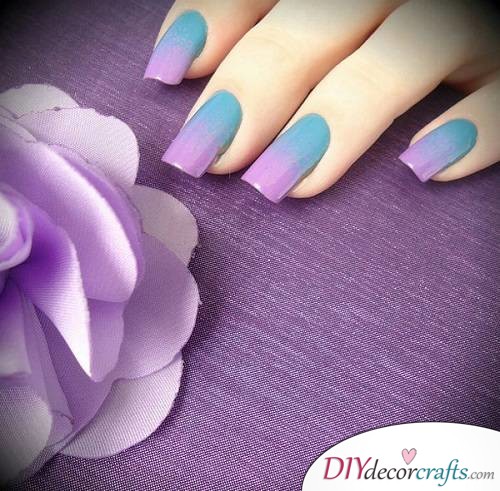
So, now that you’re done with the ombre colors, are you truly done? You could just finish up with a top coat and be done with it, or you could also apply stampers or other designs as well. Simple stripes or a heart shape will make it look even better, don’t you think? Now that we covered the bases, jump right into the examples!
Ombre nail art ideas
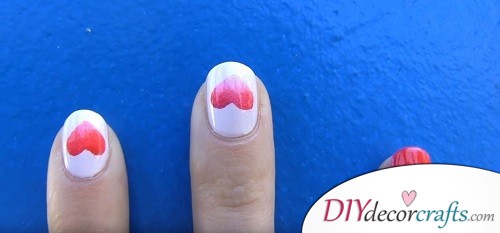
The Sweet melon is the perfect combination of light pink and red. Start with a base coat, and once dry, just paint the colors on a sponge. Dab on your nails two-three times, then just add the finishing touch with some glitter and silver hearts.

A different approach you can take is the Ombre Heart. Get a Scotch tape and fold it in half. Draw half the heart, then cut it out. Put on your nails and paint the sponge red and white. Sponge on your nails a couple times and you are done. Alternatively, you can also apply a white-red ombre on your nails and paint the heart in white afterward. Either way, it’s a very simple and cute design. 🙂
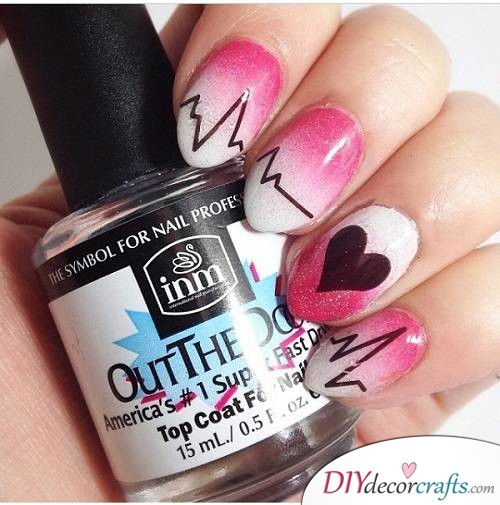
Similar Heart idea, executed differently.
After applying the base and white coat, paint each nail, except for the one with the heart symbol on it with the same pink-white ombre. For the one with the heart on it, change the direction of the flow, and apply the same method as previously mentioned for the heart. Finish with a top coat.
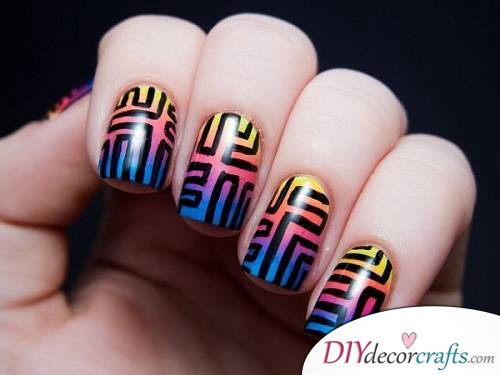
This Tribal ombre nail art is quite impressive as well. It uses four colors, from top to bottom: a large portion of blue, some violet, red and yellow. Finish things off by adding the black lines with a tiny brush. It might help to grab a Scotch tape and tape your nails line by line or to cut out this irregular shape.
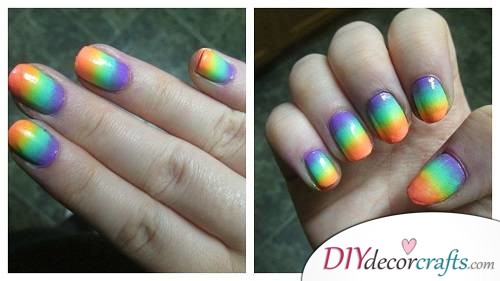
For this Neon Rainbow nail art, just paint four different colors on a sponge (purple, blue, yellow and orange) after applying a base coat, a wild coat and the liquid latex. The wild coat helps intensify the color of the rainbow. Then just sponge on your nails, painting the sponge again as you go. Once finished, remove any excess with a brush or remover. Apply the top coat and enjoy this reminder of the summer!
Thank you for reading our article, Easy Tutorial on How To Do Ombre Nail Art – For Beginners!
If you liked it, make sure to follow us on Pinterest and give us a pin! 🙂
Here you can find more, similar ideas, nail art, DIY and other goodies!


