If you are looking for a cute Disney nail art design for your next Disney Park trip or for Halloween, you’re in the right place! Being an adult and loving Disney isn’t something to be ashamed of, heck, I’ve seen so many Disney movies recently I can’t even keep track. You can be a fan and show your appreciation for this work in many ways. We’ve collected a wide array of beautiful designs, like Frozen or Cinderella and many more!
Experiment with them, try out new things or stick with one design for a couple weeks. You won’t regret it! I like seeing a professional nail artist from time to time, but the best thing you can do is do them yourself in the comfort of your home. Let’s get creative and be inspired!
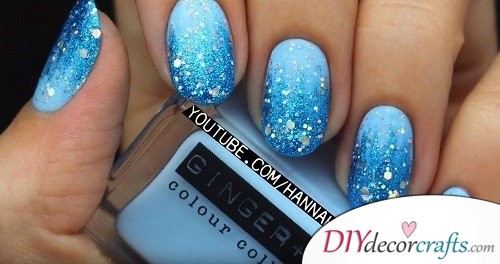
To start things off, here’s this amazing Elsa inspired Disney nail art design! Start by applying a base coat, and once dry, a light blue polish. Then draw thin lines starting from the middle of your nails with a glittery blue striper. Apply two layers of it, or alternatively, you can use a sponge to dab glitter or metallic polish on your nails after using liquid latex. Next just apply one layer of holographic glitter on all your nails, finishing things with a top coat. Enjoy it! 🙂
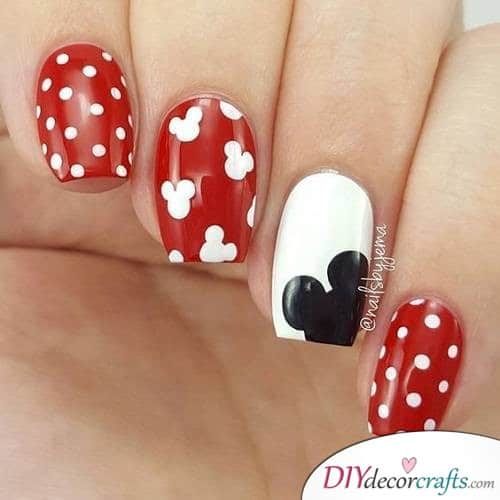
We can’t forget about Mickey Mouse either!
After applying a base coat, paint all your nails bright red, except for the one with Mickey’s head on it. Polka dot two nails with a dotting tool and draw the little heads with it as well. Now for the harder part, outline Mickey’s head shape. Once that’s done, just fill it with black polish. It’s an easily recognizable symbol. Finish with a top coat to protect your mani.
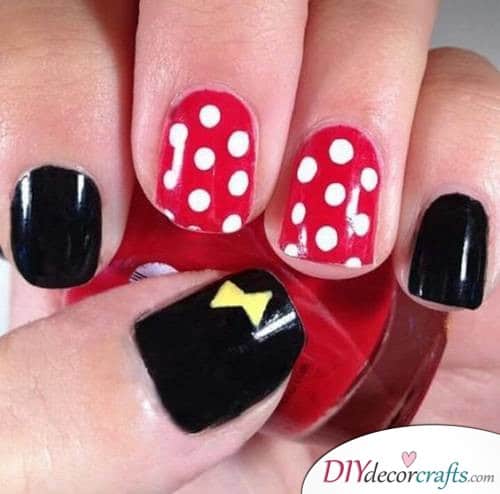
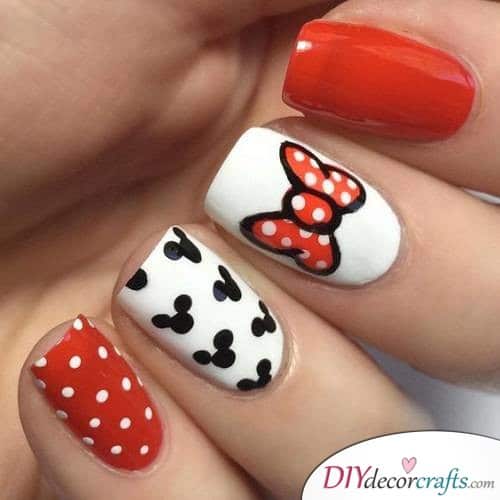
Similar idea, now featuring Minnie Mouse! After applying a base coat, paint three nails black, the others red. Polka dot the red ones, try to be as precise as possible. For Minnie’s bow, connect two triangles, like an hourglass. Fill it, then apply a top coat and it’s already done. You will find similar simplistic designs like these because they are so easy to replicate.
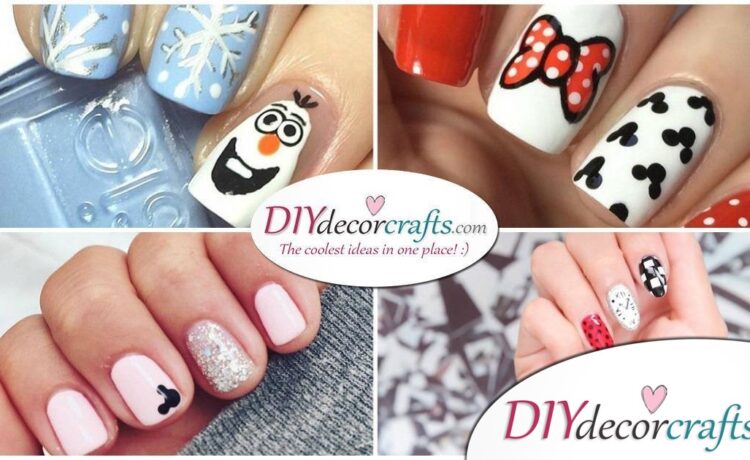
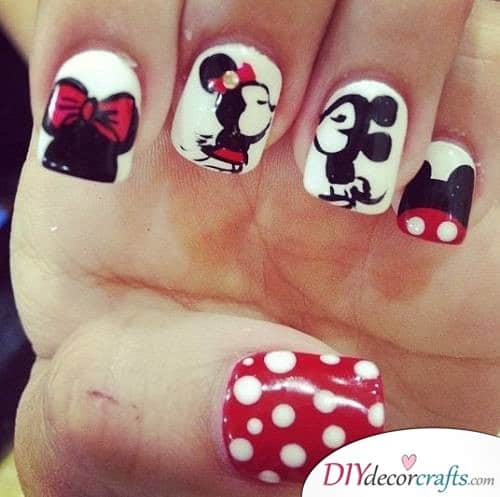
Now for a little more advanced design, here’s this Minnie Mouse and Mickey Mouse Disney nail art design! Paint each nail white except your thumb. Polka dot it as described in previous designs, and get to the main attraction! For intricate designs such as these, it’s important to practice first. Draw the symbols on a piece of paper and have them in front of you at all times. Start from the top, and outline Minnie’s appearance with a tiny brush. First, the head, ears, and body, finishing with the leg. Fill up the spots and do the same for Mickey Mouse. For the simpler designs, the same principle applies. Outline with a small brush, fill and end with a top coat.
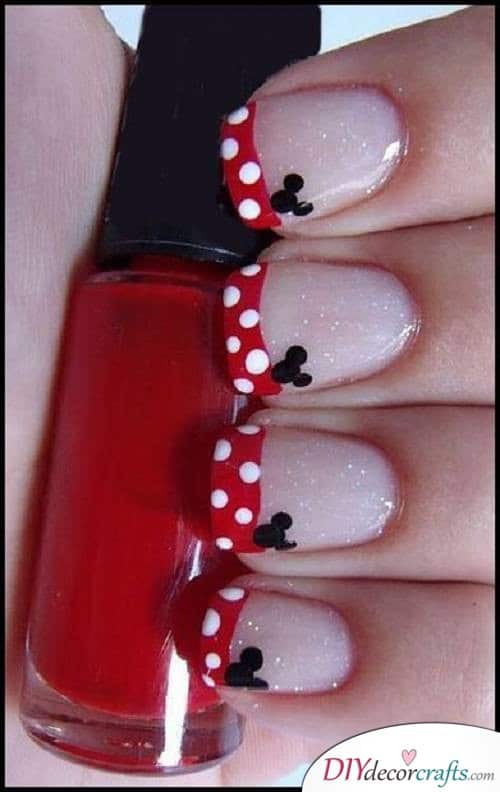
Another great Mickey Mouse Disney nail art design is the French tip inspired one!
French tips are trendy every season and every year, but who’s surprised? I know I’m not. To get this amazing design, apply a base coat. Once dry, paint a glittery nude polish. Then, for the French tip, press the brush against your nail and rotate your nail slowly. The trick is to move your fingers and not the brush. After the white layer, do the same with a red layer. Polka dot with a dotting tool, and now all you need is the Mickey Mouse symbol. Once you break down even the hardest designs, they become a step-by-step obstacle. The more you finish, the better you will get. 🙂
The last Mickey Mouse design, I swear! At this point, you might already be familiar with the polka dot design, and the others compliment it well. The small Mickey Mouse heads might prove difficult, but you can draw them with a tape. Cut a larger tape and fold it in half. Draw half of his head, then cut it out and unfold the tape. Now you can just stick it on your nail a couple of times (after the base-white polish layers of course) and fill with black polish. For the tie design, outline with a tiny brush, then fill with red polish completely. Polka dot with a dotting tool, then strengthen the lines with black paint. Finish each nail with a top coat.
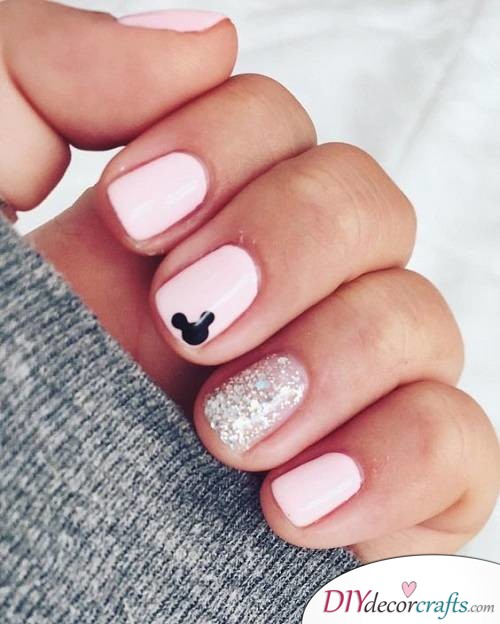
I couldn’t help myself. Here’s the final Mickey theme. But this time with light pink and glitter. Apply a base coat and a white polish layer. The light pink makes this design simplistic and very cute! Just use a tape for Mickey and a glittery polish for a chosen finger, and you’re set.
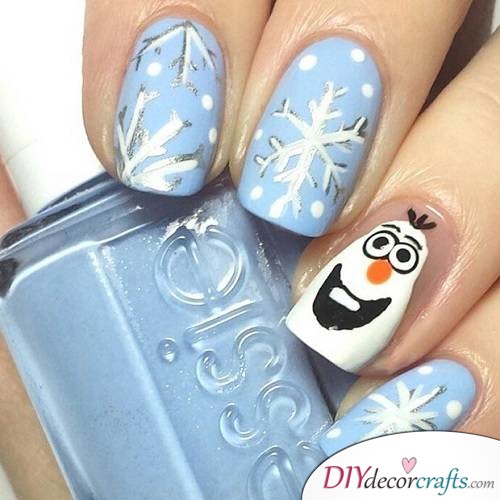
Another great Elsa Disney nail art design!
Start with a base coat and a light blue layer. Then for the snowflake design, first draw them with metallic polish, then once dry just go over them with white polish. Add some smaller snowflakes with a dotting tool. To draw Olaf, start with a base coat. Using a base coat before any layer is important because it protects your natural nails from chemicals and helps your mani retain its colors for longer. Outline Olaf, then fill it with white color. Draw his mouth, face, nose, brows, and hair and you’re done. Strengthen the lines with black polish if necessary.
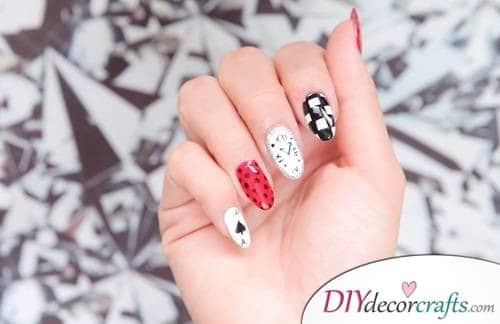
I want to end this article with my childhood favorite, Alice in Wonderland! This is a design I actually wanted to do for quite some time. You have to treat each nail differently. After a base coat, paint four of them with white polish, except for the polka dotted one, paint that one red. Add black dots with a dotting tool and you’re done with one nail. For the Ace of Spades, cut out the shape from a tape and stick on your nail. For the aces, keep a steady hand draw them with a tiny brush. The clock will be the hardest to draw. Next just draw the numbers with a tiny brush, then the hands. For the final design, outline the squares and fill them. Finish each nail with a top coat and enjoy them!
Thank you for reading our article: Simple, Creative and Cute Disney Nail Art Design You Will Love!
If you liked it, make sure to follow and pin us on Pinterest! 🙂
Enjoy these cute designs and check out some of our other design here!


