Halloween nail art can be a daunting and frightening task, especially if you don’t have a lot of experience doing it yourself. Choosing a design too hard can take away all the fun this form of entertainment provides.
Let’s talk about the benefits of choosing a themed manicure. First of all, it’s way cheaper to choose a manicure than it is to buy an expensive costume. Second, it’s a lot of fun! You’d be surprised how fun it can be, particularly if you do it with one of your girlfriends. This article will cover the basics of how to do nail art, as well as going a step beyond for more advanced designs. Bring out your dark, edgy side and show off your skill with these Halloween nail art collection!

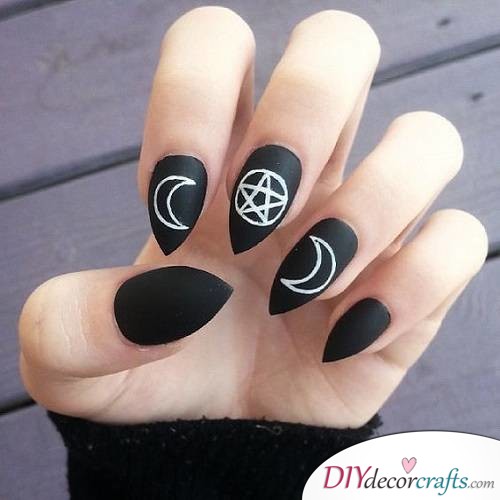
To start things off, here’s a simplistic Witch design. It’s the perfect balance between simple and fitting for the theme. Just apply a basecoat, allow it to dry, then paint all your nails black. When dried, draw the half moon first. You can practice the shape on a piece of paper before transferring it to your fingertips. Now draw the pentagram on your middle finger, and finish with another (mirrored) half moon. Again, you can practice the shape before drawing it on your nails. Finish it off with a clear topcoat.
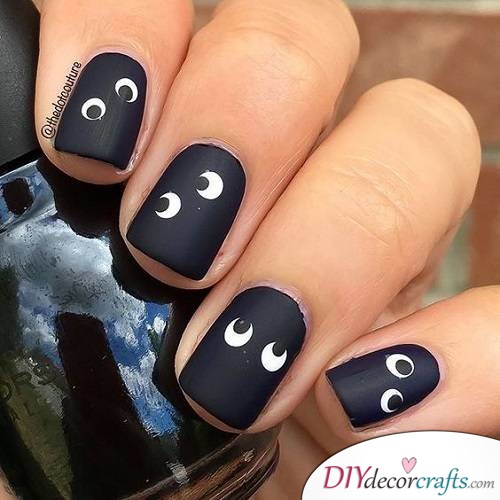
Make sure that all eyes are on you with this simplistic Eye nail art. Use the same method. Apply a basecoat, let it dry and apply the black layer. With a white polish, draw the eyes, and finish the paint with a dotting tool. It’s super beginner-friendly.
It’s matches perfectly for any costume too!
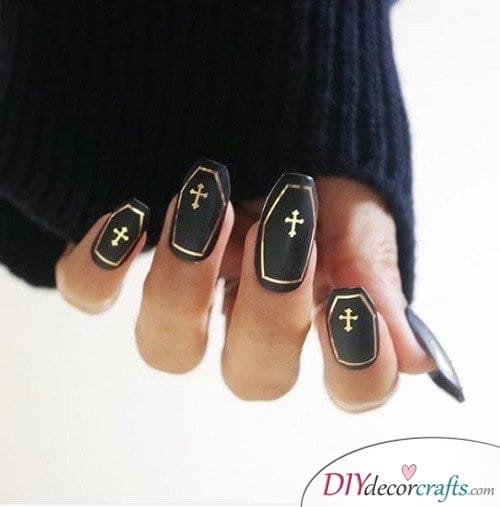
There’s a Coffin trend going on right now, and you can’t be left behind! To achieve this Halloween nail art, first, shape the edge and paint your fingertips black. Wait until it dries, then add a golden outline and finally, the cross in the middle. Finish with a topcoat. Try to make every coffin identical.
If you’d like a minimalistic Halloween nail art design, the Minimalistic Moon was made for you! Just apply a basecoat, a color you feel comfortable with, and you’re ready to draw the moons! Alternate the heights of the Moons, but keep the lit and dark side consistent. Once dry, finish it with a topcoat. Maybe wear it for a shape-shifting witch or a cat costume?
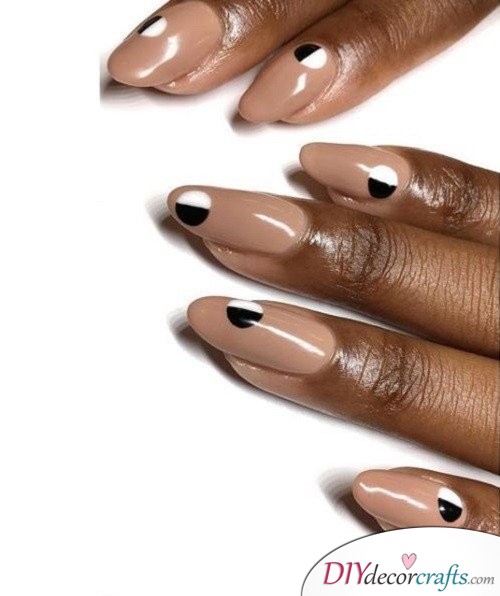
Now onto a bit more advanced designs! The Dia de Los Muertos is a well-known and popular design, and now it’s come to invade our nails! Start with a white base. Once dry, add flowers for the eyes. Finish the details in black and with a topcoat.

Now we’re stepping into harder territories, the Moon Phase Halloween nail art. To get this irregular shape, you will need water marbling. In short, water marbling is a creative technique for creating unique designs. Have you ever seen a swirly or out of the ordinary nail art design? Chances are, they used some form of water marbling.
For this particular design, first, apply a basecoat and paint your nails black. Once dry, begin the water marbling. Apply the white color, and wait until it dries. Next, drop the gray color from a low height. It will start forming a circle in the water. Next, outline the moon with a tiny brush. Finish filling the moon with the marble. It’s very time consuming, but also very rewarding.
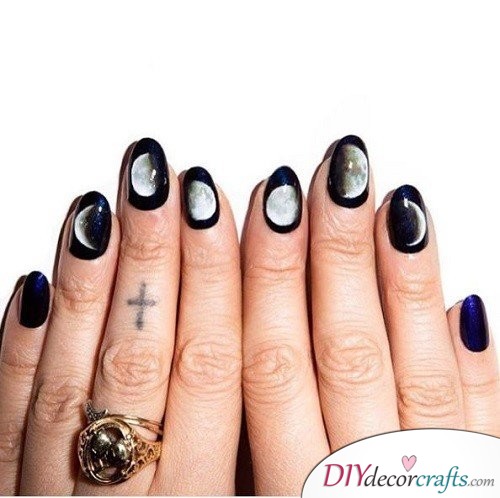
You can also achieve similar results by drawing the moon with white and black acrylic nail paint.
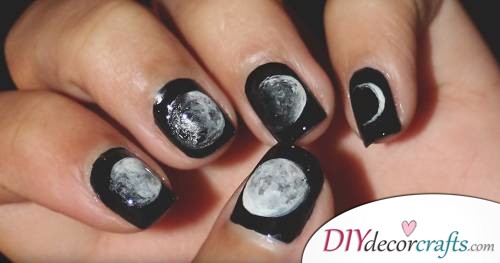
Black and white stripes remind me of Tim Burton. Am I the only one with this? Well, anyway, I think it’s a nice design for Halloween. Orange is the color of the season, and paired with black and white stripes is gonna make for a nice design. The way to do this is to tape your nail in the middle to divide the colors. Now for the stripes, just get striping tapes and stick them to your nails. Paint over it and remove the tapes before the paint dries. Super easy right? If there are any mistakes in the stripes, you can correct them with a tiny brush. Then just tape the other side of your nail and paint it orange. Finish your other nails as shown in the picture, following the same guide for the stripes. Do not forget to use a topcoat when you finish.
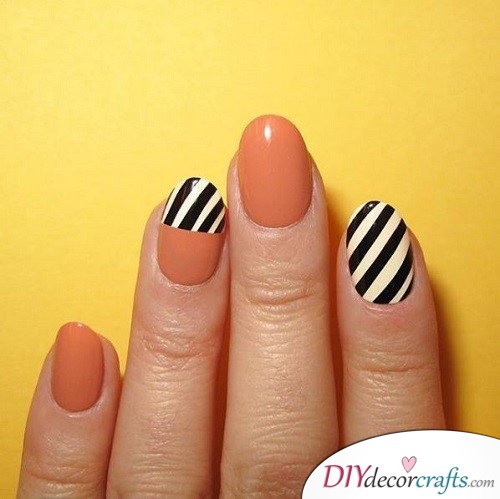
According to superstitious beliefs, Black cats are a bad omen, but that doesn’t mean you can’t use this perfect Halloween nail art! Alternate the colors. Start with a basecoat, and from here you have two options. You can either outline each cat with a tiny brush, filling them later, or you can choose the easier option and go with a Scotch tape. Cut a larger piece and fold it in half. Draw half the cat on the plain side, then just cut it out. Now that you have a symmetrical shape, just place it carefully on your finger and fill the tape. Wait until it dries, then repeat for all your nails. Then draw the whisks with a tiny brush, the eyes with a dotting tool, and the ears with a black or white polish respectively. Sometimes the easiest designs are the cutest. :)
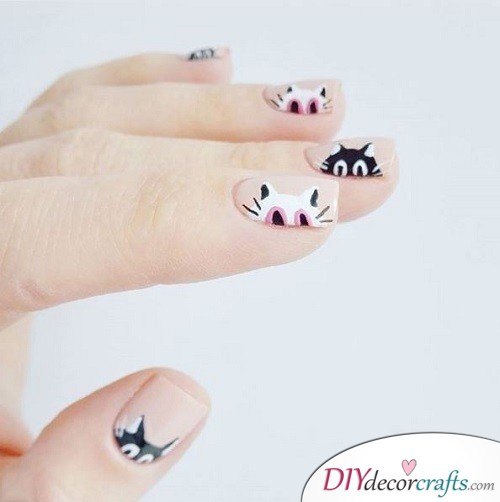
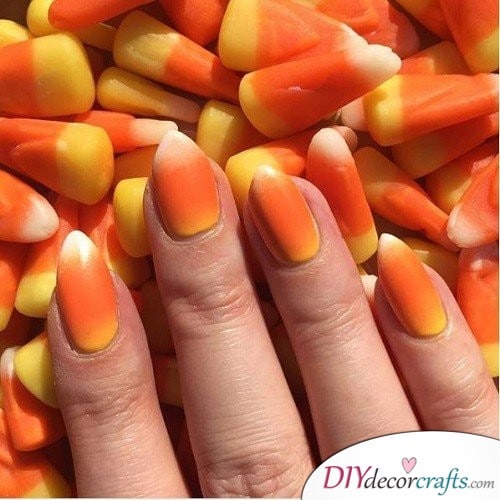
If you think about Halloween treats, the first thing that comes to mind is Candy corn! Apply it as a Halloween nail art!
It’s not a hard Halloween nail art that’s hard to recreate either. Gather all your tools you’d use for an ombre design (makeup sponge, liquid latex, brush.) Start with a basecoat and once dry, apply the liquid latex around your nails to protect them. Paint the three colors (white, orange and yellow) on the makeup sponge, then apply the first layer. Once dry, paint it again and repeat until you get the desired color. Remove the liquid latex with a brush and remover, then repeat on all your fingertips. Just try not to chew on them if you can.
Thank you for reading our article Easy and Creative Halloween Nail Art For Beginners!
If you liked it, make sure to follow us on Pinterest and check out some of our other designs! :)


