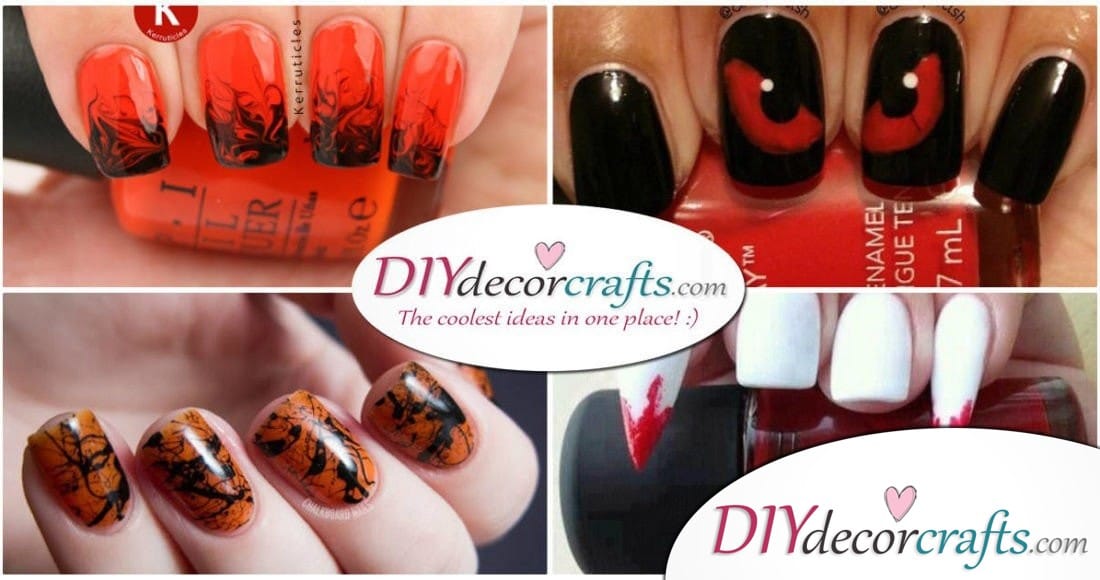
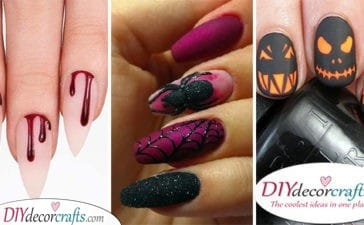
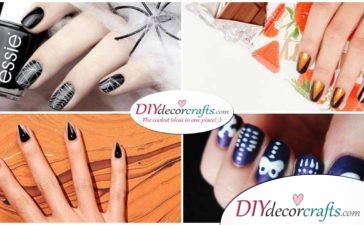
Halloween is the best time of year to embrace your inner edginess and bring out the most from your nails. Unlike other holidays where you have to be tame, such as Christmas or Easter, Halloween is made for going all-out. The point of this holiday is to transform into something you’re not, something dark and spooky. That’s why I love Halloween! The best thing is that they’re all easy, DIY Halloween nail art designs that you can make yourself.
Whether you’re counting down the days with a set goal in mind or waiting for the last moment, we’ve got you covered!
You don’t even need to wait until the end of the month to start rocking some of these designs. Taking care of your nails is important, but save money where you can. Doesn’t mean you have to make compromises.
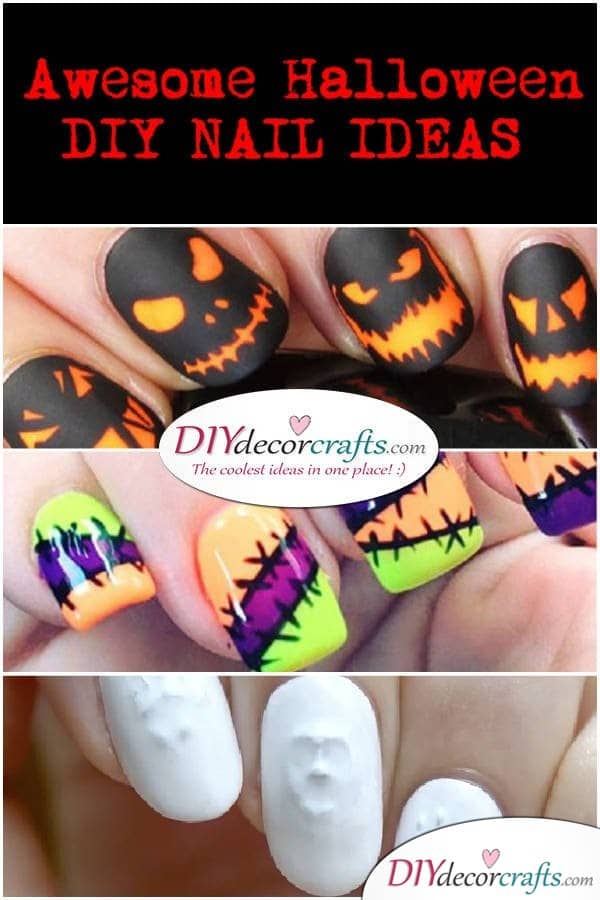
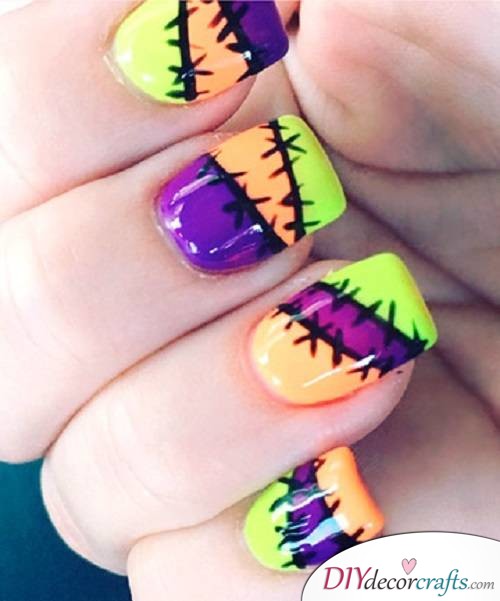
First of all, these Stitched Up Nails go well with a flashy outfit and vibrant colors. Just take three of your favorite nail polish colors, and get to stitching! You should choose something appropriate for the season, like orange and purple. Just apply a base, the three chosen colors and “stitch” them together with a nail art brush. Get creative, switch up the colors on each nail or switch up some of the colors!
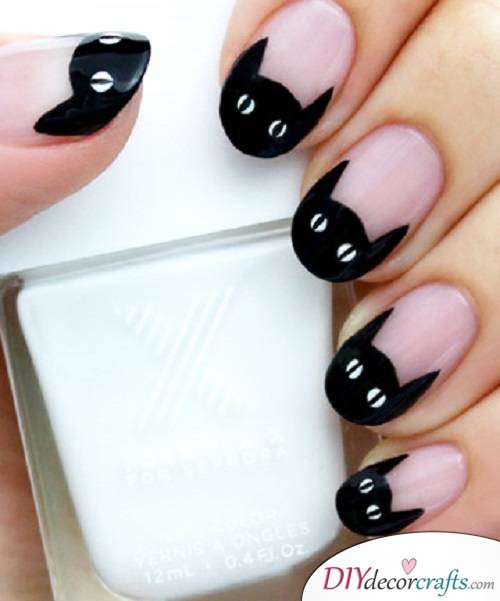
French manicure will always be in style, and this year won’t be any different. And with a little twist, we can make the classic look into a Black Cat. If you’d like to make this right now, just apply a clear base and create two triangle shapes on the side with black polish. Then create a half moon shape between the triangles and fill it in. Let them dry, and for the eyes just paint two white dots. Then to finish it, just paint a thin black line in the center, and you’re all set! Wear it with a witch or black dress, or even a cat outfit!
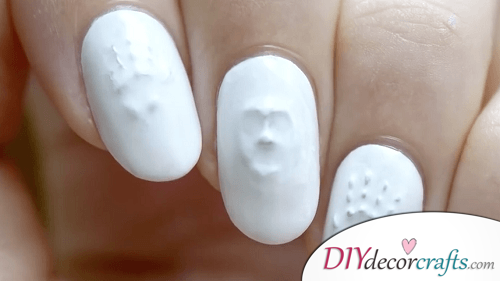
If you have the patience and necessary tools, try this amazing 3D DIY Halloween nail art!
Now, there have been a couple things I would’ve loved to try out myself and never had the chance (unfortunately) but 3D nails aren’t one of them! If you are going with a haunted costume, the Trapped Ghoul is an amazing choice. Use foil gel to build the hands or face of the ghoul first. Then, just apply the rubbing alcohol and topcoat to “trap” the ghoul.
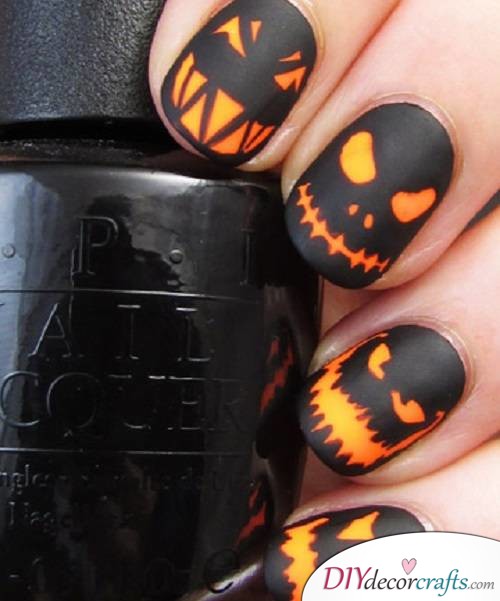
The Glowing Jack-o’-Lanterns are easily recognizable, it’s the most famous symbol of the season. Do you know how to carve a pumpkin? Thankfully, you don’t have to make a mess of your porch to make this masterpiece! Just apply a white base coat, followed up by two coats of glow-in-the-dark orange nail polish. Next, create the spooky faces with black nail polish, fill the rest of your nail with it, so only the face comes out. Finish things up with a topcoat.
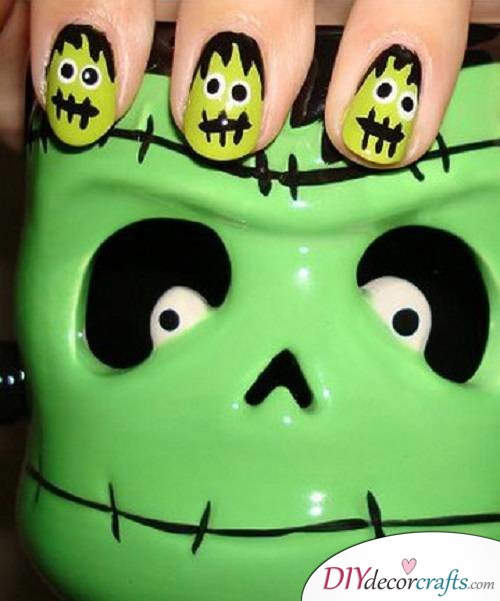
Creating Frankenstein on your fingertips isn’t as hard as you might think. On the contrary, drawing his frazzled hair and stitches is quite simple. Go layer by layer, starting things off by a base coat and the green polish after. Then make the hair with black nail polish, eyes with a dotting tool and stitches with the same method as the last Halloween nail art.
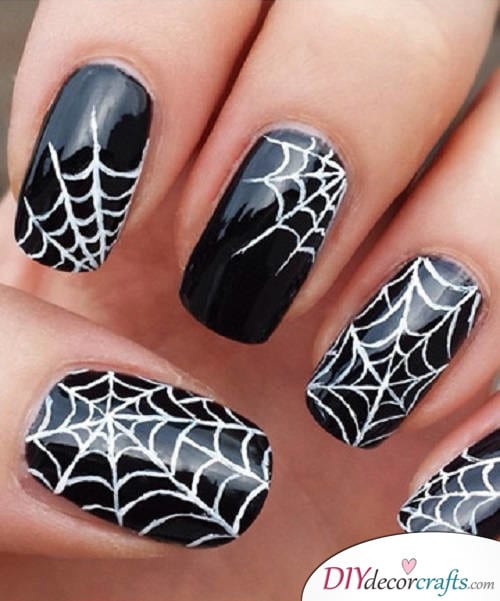
What would Halloween be without spider motifs? I don’t know either. To weave the Spider Webs on your fingertips, grab a chic black and white nail polish. Just keep a steady hand and start drawing the webs, unless you want to make it scary in a bad way. No, really, if you can’t keep a steady hand, ask someone to do this one for you.
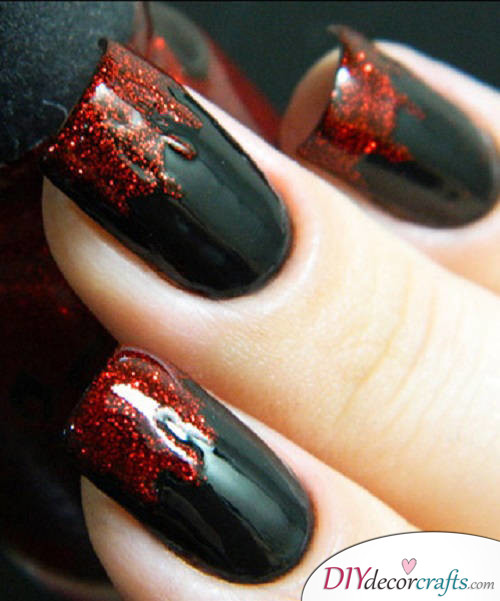
Talking about usual and traditional symbols, you can’t forget Vampires! Start with a black polish base. Now, wait until it dries, and use a glittery red nail polish on your tips. For the dripping blood look, pour a little of the red polish on a paper towel and finish the job with a dotting tool or a bobby pin. Wait, until it dries and finish it with a topcoat.
One of the best DIY Halloween nail art is the Black Widow. Being a black widow is two parts sexy and one part badass. Imagine yourself in the costume paired with this glamorous dark-themed, red spider web-coated nail design! Yeah, it’s hard to overshadow this design.
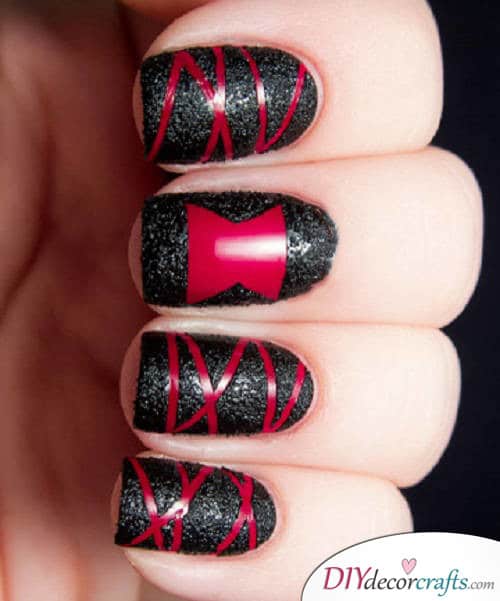
To get it done, you will need a deep red base coat. Once dry, make the webs by crisscrossing nail tape over your fingertips to get the design you want. Paint over the tape with a black nail polish.
For the spider’s body, use the same tape method as previously mentioned. Next, paint around the edges with the same black nail polish, and finish with a topcoat. You’re set!
In a previous post, I have tackled a witch design, but there are quite a few out there. This DIY Halloween nail art Witch symbolism might be the thing for you! It’s quite time-consuming to get the different symbols done, but it’s rewarding! Just use a black base with white nail polish and topcoat, because it’s really rewarding.
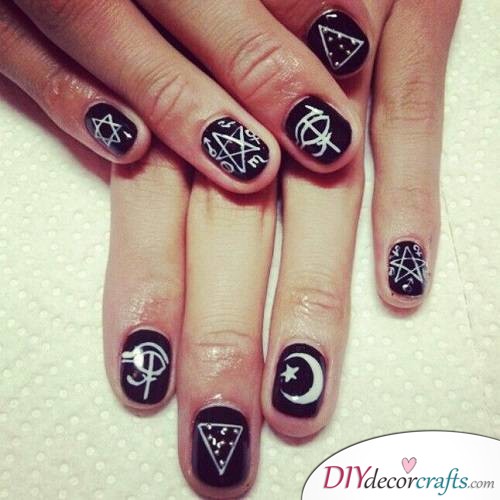
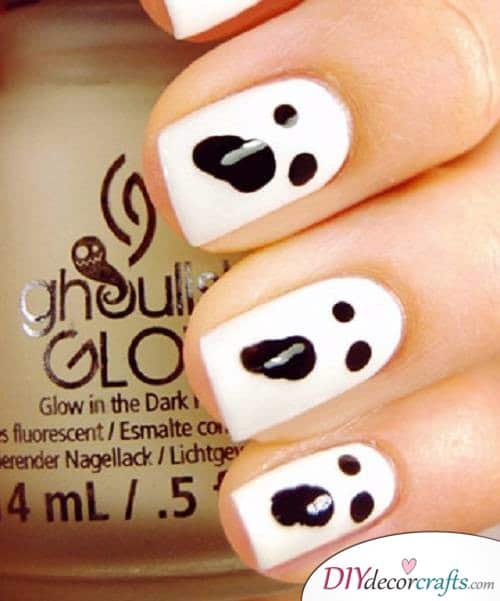
If you find 3D nails and overcomplicated designs too advanced, try these DIY Halloween Nail Art Ghosts! Therefore, they are perfect if you’re just looking for something simple, or you’re new to nail art. And it’s not even a problem if you miss a few lines, it won’t be easily noticed. Extra points if you use glow-in-the-dark polish!
Here you can find more spooky Halloween nail art ideas, crafts and food ideas for kids! And many more!


