Fall is the season of change. And when it comes to nail art, it’s never a bad time to wear something nice and mesmerizing. You can wear any color at any time, but in my opinion, not dressing for the season is a missed opportunity. And good fall nail art ideas can brighten those days when you’re sitting in school, thinking about last summer. For this reason, cute fall nail art ideas and designs will overwhelm fall’s sense of gloom.
But don’t despair, because it means that with summer passing and fall coming, it’s time for Halloween and Thanksgiving, and many more down the line! You can find appropriate nail art ideas by clicking on the links. Let’s get started!
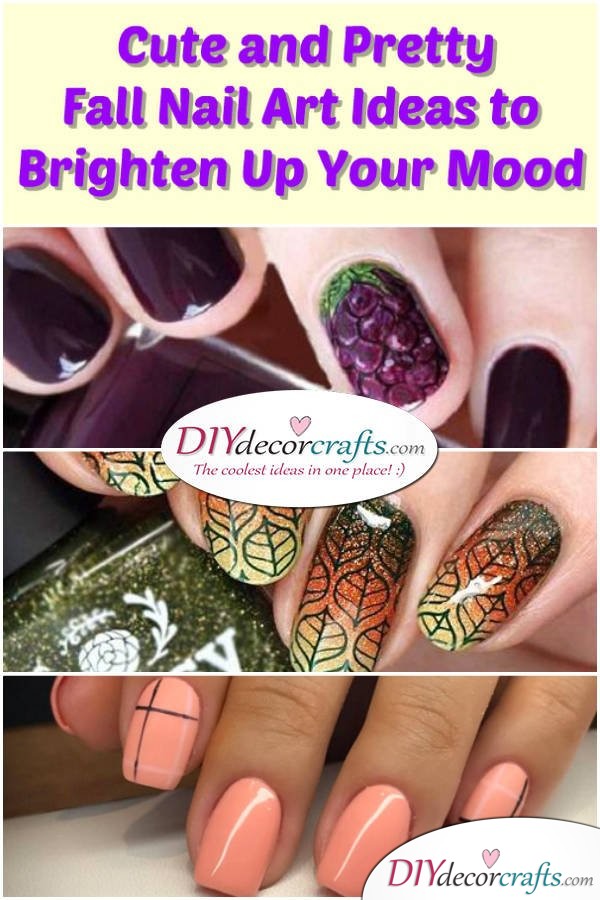
Nude mani is trendy, but there’s no surprise why.
You can wear it every day, or on special occasions. Not to mention that it goes well with a lot of designs, or by its own. This Leafy pattern will make your nails look both seasonal and stylish, which is our goal! Just apply a basecoat, then the nude color. For the leaf symbols, draw the outlines with a small brush. Fill them up with different colors, and choose different leaf patterns. Have this in front of you, or real leaves that might inspire you.
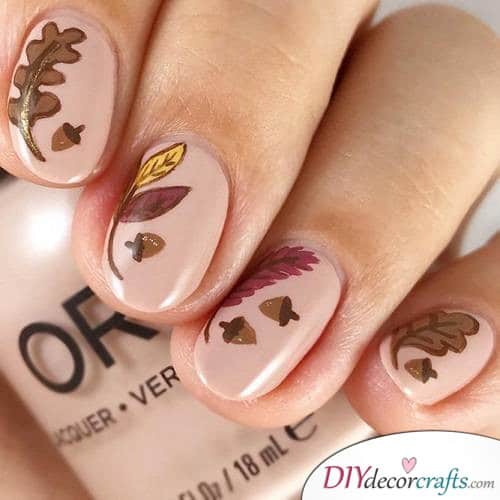
Neon colors can also go well with the season, and they don’t require much. Apply a basecoat to protect your nails, then grab a Scotch Tape. To make the rectangle on the side, cut a piece of the tape and draw half the rectangle with a marker and cut it out. Unfold the tape, put it on your nails and fill the hole with neon yellow polish. Now all you need to do is the top line and the accent in the middle. You can do the accent with Scotch Tape or a brush. For the top line, use a small brush, and finish with a topcoat.
Isn’t it beautiful and easy?
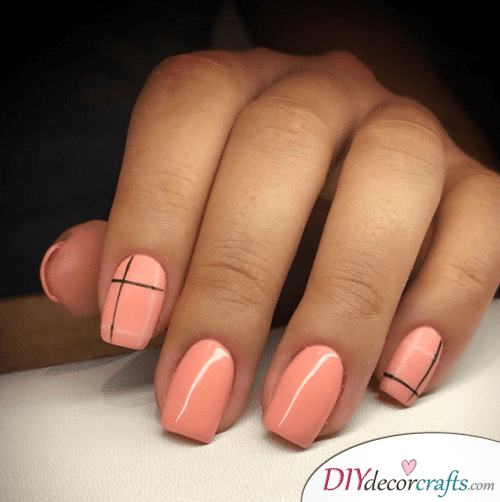
Simple Plaid is perfect if you’re still in school or you’re starting a new job. It takes only a few minutes to do, and they are super minimalistic. As always, apply a basecoat and let it dry. Paint your nails pink or any chosen color, and use a tiny brush to draw the lines. Finish it with a top coat to protect your nails and your mani from harm.
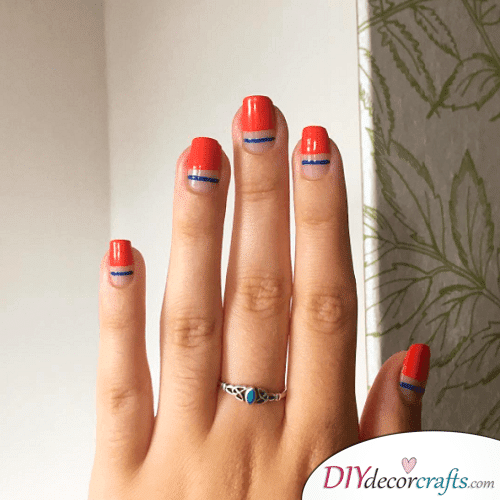
Another minimalist fall nail art idea is the Modern Design. It’s super chic and very simple to pull off. Just make sure to use the boldest colors you can think of and Scotch Tape. Try making each nail as identical as possible.
The Fall Shades And Glitter is a good fall nail art idea, because ombre is trendy every season, occasion and every time. There’s no wonder why since it looks super stylish, and it isn’t as hard as it might seem. If you haven’t done ombre yet, it’s extremely simple. You will need a cosmetic sponge, liquid latex and the colors you want. Start by applying a basecoat and the liquid latex around your nails. Then add the three colors (gold, red and yellow glitter.) Sponge on your nails and wait until the layer dries, about a minute. Paint the three colors again, and sponge on your nails a second time. Repeat until you get the color you want, remove the latex and finish with leaf stampings. The results will be breath-taking.
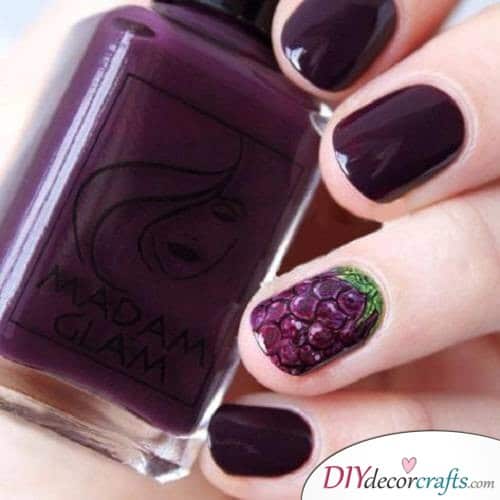
If you’re a fan of darker shades, I’ve got just the thing for you! The best out of these fall nail art ideas!
For this amazing Grape design, start by applying a basecoat, followed by a dark purple color on each nail except the one with the grape accent. Add the topcoat on all nails. To create the grape symbol, just apply a basecoat and draw the shapes and leaf on top with the same dark purple polish once dry. Then just fill the grapes with acrylic purple nail polish, and the grape with green polish, highlighting the lines with black polish. Finish it up with a topcoat, and you’re done. It isn’t that hard, just a bit time-consuming. :)
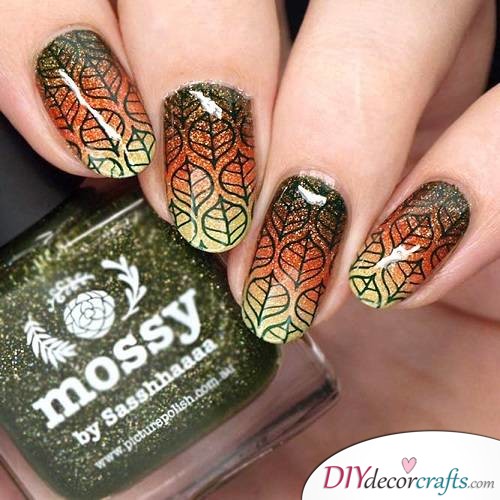
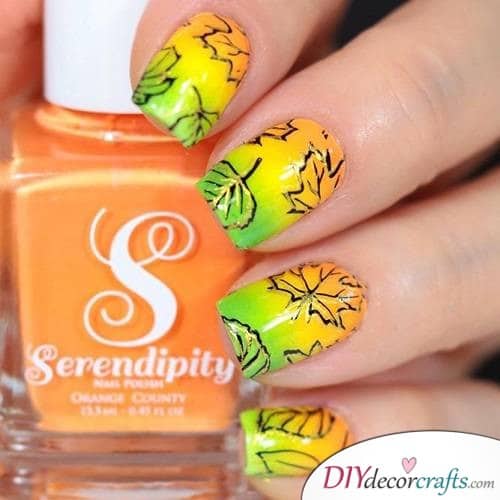
The Colorful Ombre With Leaves is another great example of a fitting spot for the fall nail art ideas. Although bright colors aren’t usually fit for fall, this is a great exception. I’ve talked about how to create ombre in this article, so I’m not going to go into too much detail. Start by applying a basecoat. It’s always important to start with this step because it protects your nail from chemicals. Then paint the chosen colors on the sponge, then apply a liquid latex around your nails. Sponge the nail and once dry, sponge again. Repeat until you get the desired effect. For the leaf pattern, outline them with a tiny brush. Have a leaf image in front of you, or practice the shapes on paper beforehand.
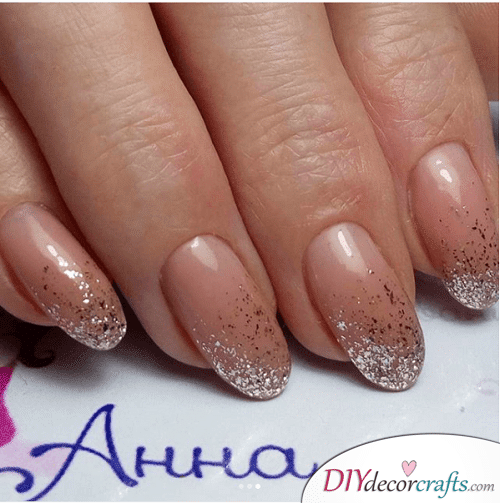
The Ombre Sparkles mimics the falling effect of leaves.
This makes for another great nail art!
Start with a clear basecoat, then start painting at the tip of your nails. Before it dries, paint starting from the middle. Make this layer lighter, focusing most of the glitters on the tip, and don’t reach the bottom part of your nail. To get the gradient effect, apply a second layer once dry, focusing mainly on the tip again, gradually going towards the middle. Once the second layer is dry, apply a top coat and rock this awesome ombre design!
Ombre designs don’t get any easier than the Spotted Ombre! Just grab a dotting tool and dip it in dark purple polish. Start from the tip going towards the middle, having more spots on the tip than the middle.

To end things off, here’s a bit harder fall nail art idea. To make the Animal nail art, start with a basecoat and once dry, apply brown polish. Start with the leaves, since they are easier. Outline them with black polish, then fill them with different colors. Finish it with a topcoat. Now, for the animal head, get a tape and cut out the face. Fill on your nail, then draw the head. Finish coloring and with a cute leaf symbol on top, and once dry, then end with a topcoat. Isn’t it cute?

Thank you for reading our article Cute and Pretty Fall Nail Art Ideas to Brighten Up Your Mood!
If you liked it, make sure to follow us on Pinterest, as we often share amazing and cute nail art ideas, crafts and other DIY, or in this case fall nail art ideas things you might enjoy! :)


